Whoops, I understand now! 🤦♂️😄
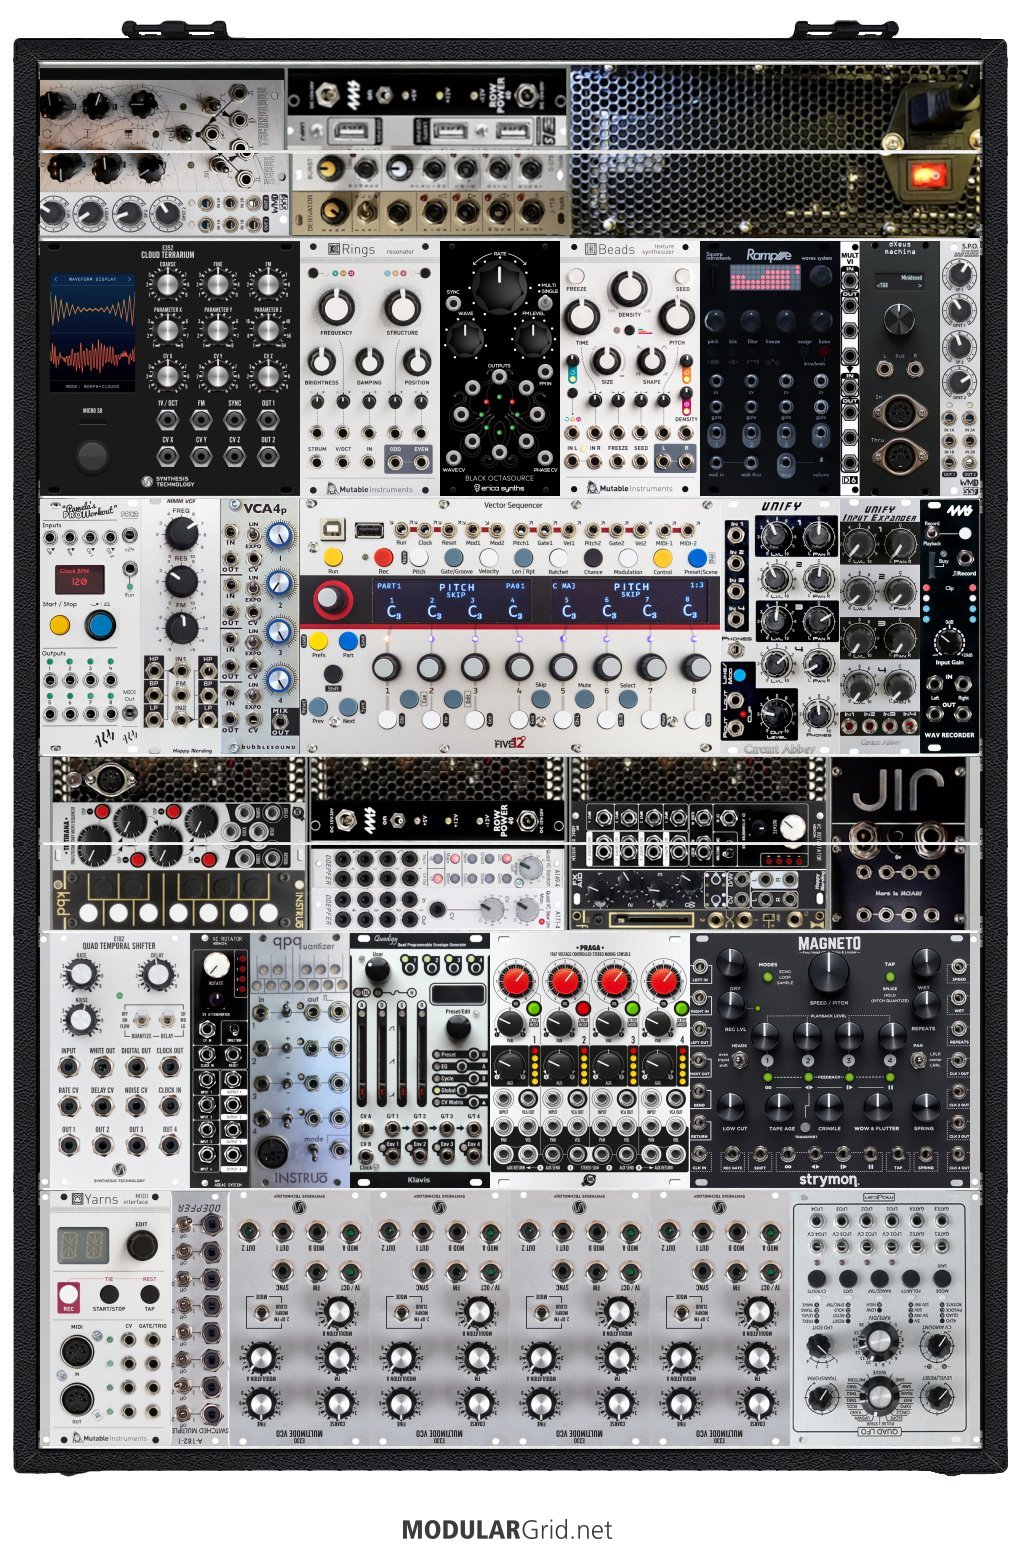
I use a photo editing program to create custom images for custom modules. So in ModularGrid create your rack with one or more empty 1U sections and then download images of the modules you want to have in there. (it's also helpful to grab a screen shot of the whole case) In your photo editing app rotate the modules and then proportionally resize them so that they are the correct size relative to your rack size and then paste them into the rack screen shot. Fill up the entire width of the rack with what you need and then select 1u tall sections that are the entire width of your case and save that as a new image. Then in modular grid add your new private 1U images and when you are done you can load those super wide 1U modules into your rack. If you want your power and cost metrics for the rack to be accurate, in the notes section list all of the modules and the individual costs and power requirements and then add them up manually and put the totals in the correct places. Since I wind up with some modules spanning across two 1U sections I just put the totals in the bottom 1U section and then set the top 1U section to uses no power and costs $0.
It's a real pain to do, especially when modules span across 1U sections because I don't have the skills or patience to split the images perfectly and usually settle for "close enough". Some times when rearranging the case I'll avoid making changes in those sections just because I know I'll have to do all of the tedious work to make the ModularGrid image look correct! 😒😅 In fact I have several changes I've made that I need to update but have been putting it off for months! 😊
Good luck on getting yours setup!
Ah I know, I have a case with a sideways section myself :) I meant in the modulargrid planner :)
Hey could I ask how you did the sideways modules? Are they custom entries as 1U or something?
-- quantumi Hi, they are just standard 3U modules mounted sideways in my DIY custom rail frame. You can see some details of what the lower and upper frames look like starting just before the 22:00 minute mark in the video. :-)
-- JohnLRice
-- quantumi